How to integrate New Relic (APM) to Django?
Application Performance Monitoring (APM) is a must-have tool for any of the applications which are live for external users. I prefer using NewRelic as an APM for all of my applications. Before jumping into the installation please create a new account with NewRelic.

Let us look into the basic integration of NewRelic, an Application Performance Monitoring (APM) for Django and Celery.
- Install NewRelic via in the virtual environment
pip install newrelic - Once installed, you need to add a config file for NewRelic to pick up all the config. You can get the configuration from the below link.

Here is a basic minimalistic config file that I use for most of my application
[newrelic]

# You must specify the license key associated with your New
# Relic account. This key binds the Python Agent's data to your
# account in the New Relic service.
license_key = <<<<<Add the license key from your new relic account>>>>>>>

# The application name. Set this to be the name of your
# application as you would like it to show up in New Relic UI.
# The UI will then auto-map instances of your application into a
# entry on your home dashboard page.
app_name = django_backend

distributed_tracing.enabled = true
monitor_mode = true

log_level = info

ssl = true
transaction_tracer.enabled = true

transaction_tracer.transaction_threshold = apdex_f


# Threshold in seconds for when to collect stack trace for a SQL
# call. In other words, when SQL statements exceed this
# threshold, then capture and send to the UI the current stack
# trace. This is helpful for pinpointing where long SQL calls
# originate from in an application.
transaction_tracer.stack_trace_threshold = 0.5

# Determines whether the agent will capture query plans for slow
# SQL queries. Only supported in MySQL and PostgreSQL. Set this
# to "false" to turn it off.
transaction_tracer.explain_enabled = true

# Threshold for query execution time below which query plans
# will not not be captured. Relevant only when "explain_enabled"
# is true.
transaction_tracer.explain_threshold = 0.5

# Space separated list of function or method names in form
# 'module:function' or 'module:class.function' for which
# additional function timing instrumentation will be added.
transaction_tracer.function_trace =

# The error collector captures information about uncaught
# exceptions or logged exceptions and sends them to UI for
# viewing. The error collector is enabled by default. Set this
# to "false" to turn it off.
error_collector.enabled = true

# To stop specific errors from reporting to the UI, set this to
# a space separated list of the Python exception type names to
# ignore. The exception name should be of the form 'module:class'.
error_collector.ignore_errors =

# Browser monitoring is the Real User Monitoring feature of the UI.
# For those Python web frameworks that are supported, this
# setting enables the auto-insertion of the browser monitoring
# JavaScript fragments.
browser_monitoring.auto_instrument = true

# A thread profiling session can be scheduled via the UI when
# this option is enabled. The thread profiler will periodically
# capture a snapshot of the call stack for each active thread in
# the application to construct a statistically representative
# call tree.
thread_profiler.enabled = true

# ---------------------------------------------------------------------------

#
# The application environments. These are specific settings which
# override the common environment settings. The settings related to a
# specific environment will be used when the environment argument to the
# newrelic.agent.initialize() function has been defined to be either
# "development", "test", "staging" or "production".

[newrelic:test]
monitor_mode = false

[newrelic:production]
app_name = django_backend (Production)
monitor_mode = true

[newrelic:celery_production]
app_name = django_backend (Celery Production)
monitor_mode = true

[newrelic:celery_beat_production]
app_name = django_backend (Celery Beat Production)
monitor_mode = true
Do remember to add the new relic license key before you copy the above settings. Though I use the above config file for most my applications but, I would recommend you to understand each and every flag before using to prod, since your security and privacy policy might be different to what I have.
- Create an
newrelic.inithe file inside the project directory where yourmanage.pyfile resides. - Follow the next steps if you are using
gunicornandsystemdservice to deploy your application in production.
[Unit]
Description=enerlly backend django daemon
PartOf=enerlly_backend.target

[Service]
User=root
Group=www-data
Environment="NEW_RELIC_CONFIG_FILE=<newrelic.ini file absolute path>"
Environment="NEW_RELIC_ENVIRONMENT=production"
WorkingDirectory=<your code path>
ExecStart=/<your python virtual env>/bin/newrelic-admin run-program /<your python virtual env>/bin/gunicorn - --workers 3 --bind <gunicorn bind>
You have to configure 3 entries from the above service config file
Environment="NEW_RELIC_CONFIG_FILE=<newrelic.ini file absolute path>"Add the path where you created thenewrelic.inifile. This is helpful for the NewRelic agent to pick config.Environment="NEW_RELIC_ENVIRONMENT=production"- Pass the name which you have added in the newrelic file,[newrelic:production], this is used to identify your application and segregate it. For multiple environments you should copy the section and rename it, for example, we use celery application in the same code base but we want to capture the data of celery in a different section so we shall name it[newrelic:celery_production]and pass it in the environment,NEW_RELIC_ENVIRONMENT=celery_productionthen any data captured in celery can be easily identified.WorkingDirectory=<your code path>Add the path to your code, this is something that you already would have done while usingsystemdservice andgunicornExecStart=/<virtual env path>/bin/newrelic-admin run-program /<virtual env path>/bin/gunicorn - --workers 3 --bind unix:/<project path same as gunicorn>/backend/backend.sock backend.prod_wsgi:application- Add the virtual env path and thennewrelic-admin run-programfollowed by the gunicorn settings which you generally use.
The most important part here is newrelic-admin run-program once your newrelic is working as expected then everything is same as what you do with systemd and gunicorn For configuring gunicorn with systemd follow the below guide.

For Celery and Celery beat the configuration is the same with just 2 changes
Environment="NEW_RELIC_ENVIRONMENT=celery_beat_production"- Change the application name so that you can identify the data separatelyExecStart=/<virtualenv path>/bin/newrelic-admin run-program /<virtualenv path>/bin/celery -A backend beat -l info- In place ofgunicornyou would be serving the application usingcelery
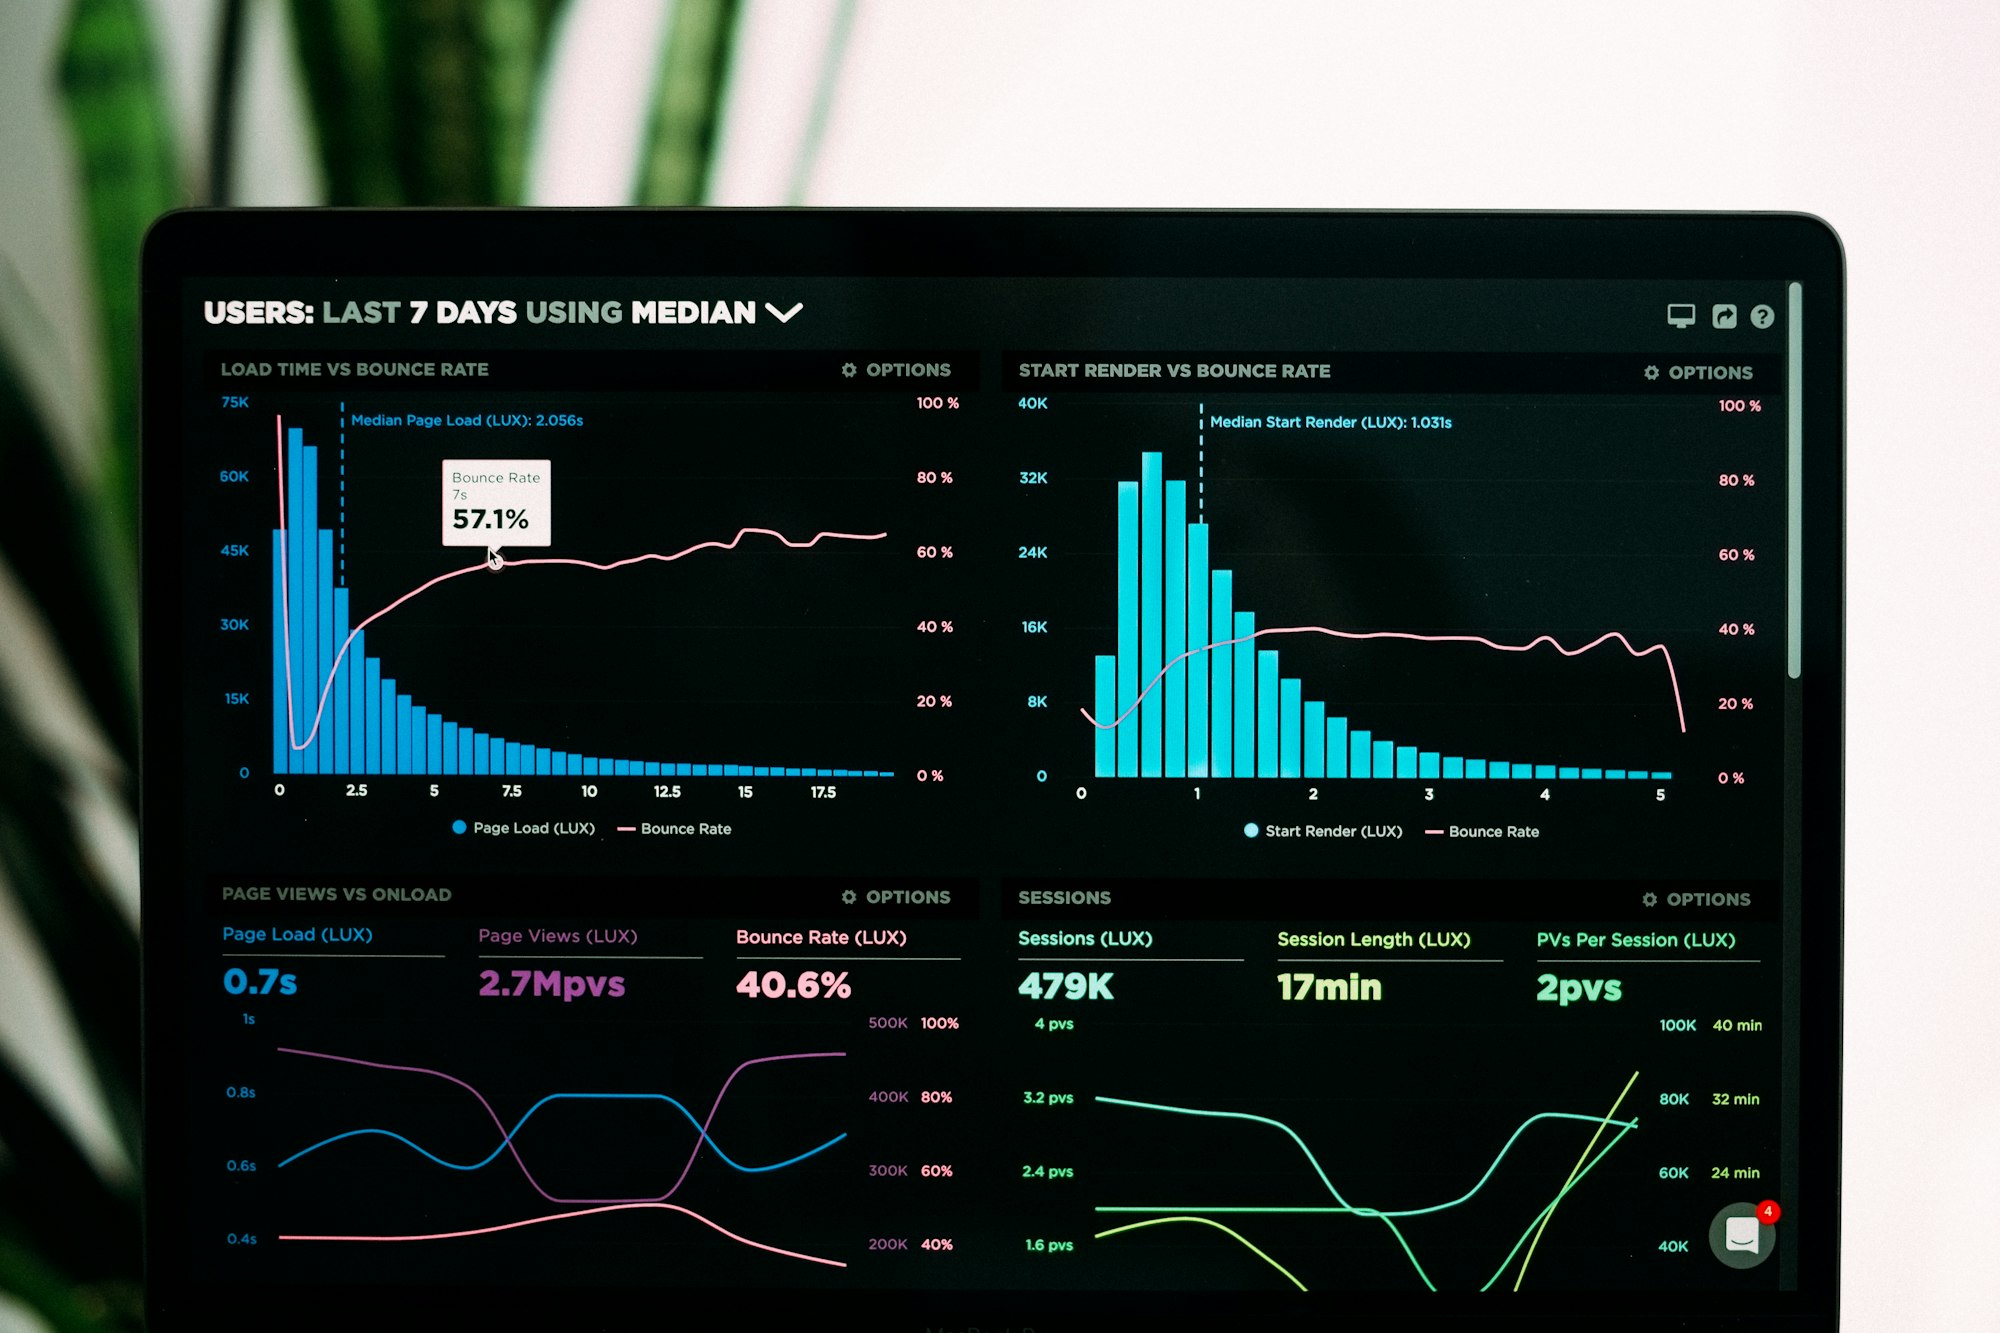
Once NewRelic is configured, you can start accessing the data via NewRelic One dashboard. Here are few points which I have noticed, which can help you work better
- Integrate
NewRelic AlertsusingPoliciesto get better insight when your service is performing badly. - Configure
Notificationto send alerts into the slack channel so that developers can get insights during any degradation of performance of the application. - NewRelic One plan is costly and you might not yet be there to pay for the plan, so what you can do is, use a single user account and share the credentials among different developers.
- Make sure your application name is in the
inithe config file is proper because once you add an application to NewRelic the name cannot be updated, every new name is considered as a new application.